DIY Tie-Dye Projects You Can Try at Home: Unleash Your Creativity
Tie-dye is a fun and creative way to add color and personality to your wardrobe. Whether you’re a seasoned tie-dye enthusiast or a beginner looking to explore this vibrant art form, there are plenty of DIY tie-dye projects you can try at home. In this blog post, we’ll guide you through some exciting tie-dye techniques, provide tips on materials and tools, and inspire you with unique project ideas. Ready to unleash your creativity? Let’s get started!
Getting Started with Tie-Dye: Materials and Tools
Before diving into the projects, you’ll need to gather some essential materials and tools. Here’s a checklist to help you get started:
Materials:
- White cotton items: T-shirts, hoodies, socks, pillowcases, or any other fabric items you want to dye.
- Tie-dye kits: These typically include dye, squeeze bottles, rubber bands, gloves, and instructions.
- Dye fixative: Helps set the dye and prevent colors from fading.
- Plastic table cover or garbage bags: To protect your work surface.
- Plastic bags: For wrapping dyed items while they set.
Tools:
- Squeeze bottles: For applying dye.
- Rubber bands: For creating patterns.
- Plastic gloves: To protect your hands.
- Apron or old clothes: To protect your clothing.
- Buckets or plastic containers: For soaking items and mixing dye.
Popular Tie-Dye Techniques
There are various tie-dye techniques you can experiment with, each producing unique patterns. Here are some popular ones to get you started:
1. Spiral Pattern
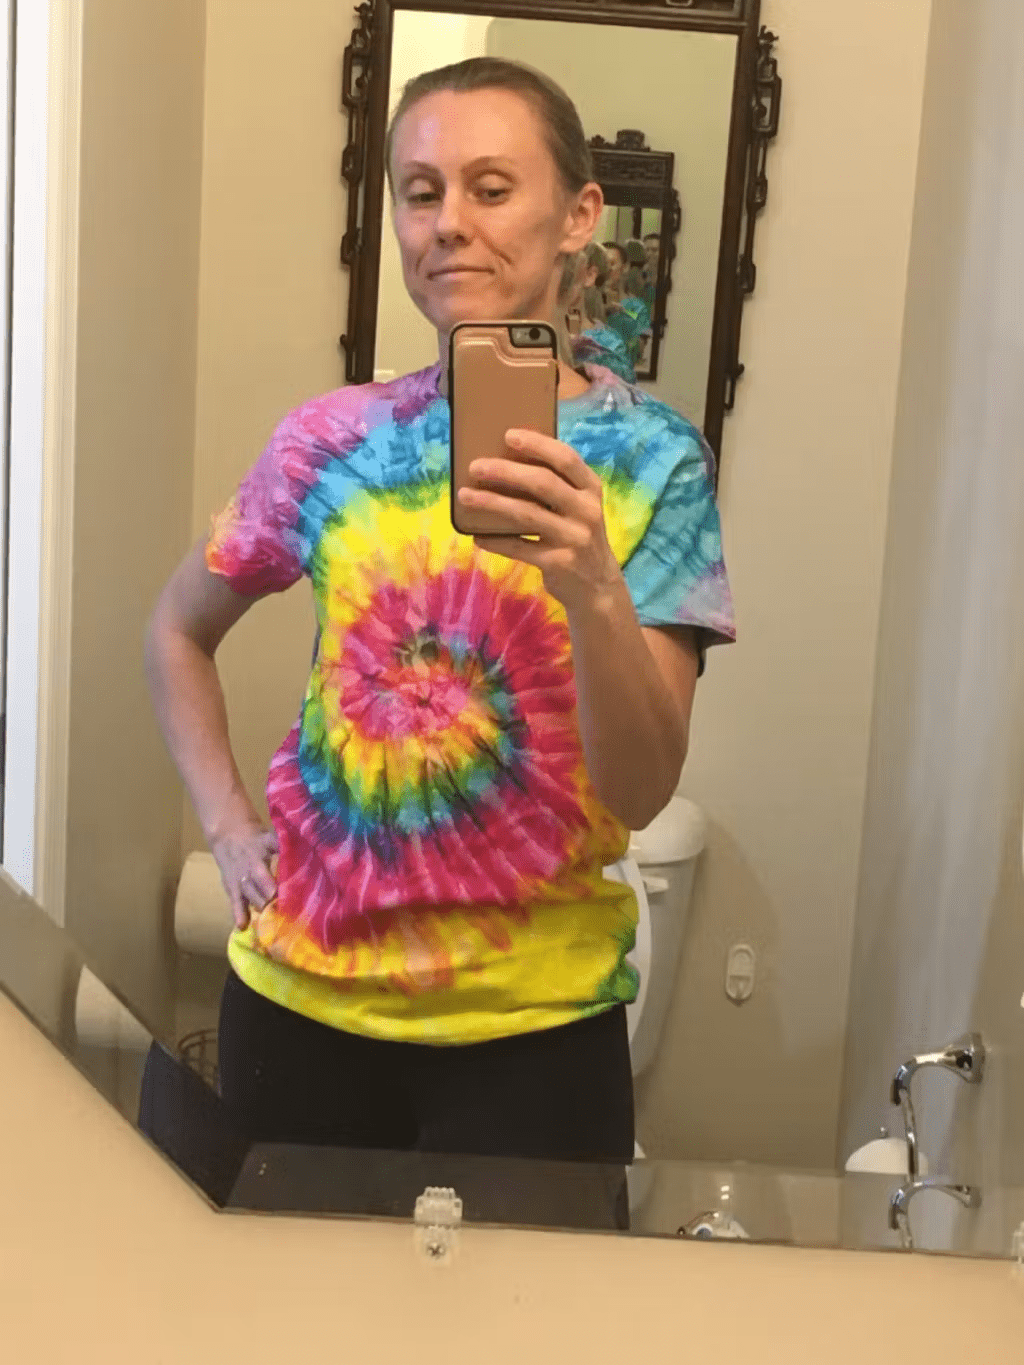
The spiral pattern is a classic tie-dye design that creates a swirling effect of colors.
Steps:
- Lay the fabric flat and pinch the center.
- Twist the fabric into a tight spiral.
- Secure the spiral with rubber bands, dividing it into sections.
- Apply different colors of dye to each section.
- Wrap in plastic and let it set for 6-8 hours before rinsing.
2. Crumple Pattern
The crumple pattern, also known as the scrunch or nebula pattern, creates a random, textured design.
Steps:
- Lay the fabric flat and scrunch it into a tight mound.
- Secure the fabric with rubber bands.
- Apply dye randomly over the fabric.
- Wrap in plastic and let it set for 6-8 hours before rinsing.
3. Bullseye Pattern
The bullseye pattern creates concentric circles of color radiating from a central point.
Steps:
- Lay the fabric flat and pinch the center.
- Pull the fabric upward to create a cone shape.
- Secure the fabric with rubber bands at intervals along the cone.
- Apply different colors of dye to each section.
- Wrap in plastic and let it set for 6-8 hours before rinsing.
4. Stripe Pattern
The stripe pattern creates horizontal or vertical stripes of color.
Steps:
- Lay the fabric flat and fold it accordion-style.
- Secure the folds with rubber bands at intervals.
- Apply dye to each section.
- Wrap in plastic and let it set for 6-8 hours before rinsing.
Creative DIY Tie-Dye Project Ideas
Now that you’re familiar with some basic techniques, here are a few creative tie-dye project ideas to inspire you:
1. Tie-Dye T-Shirts
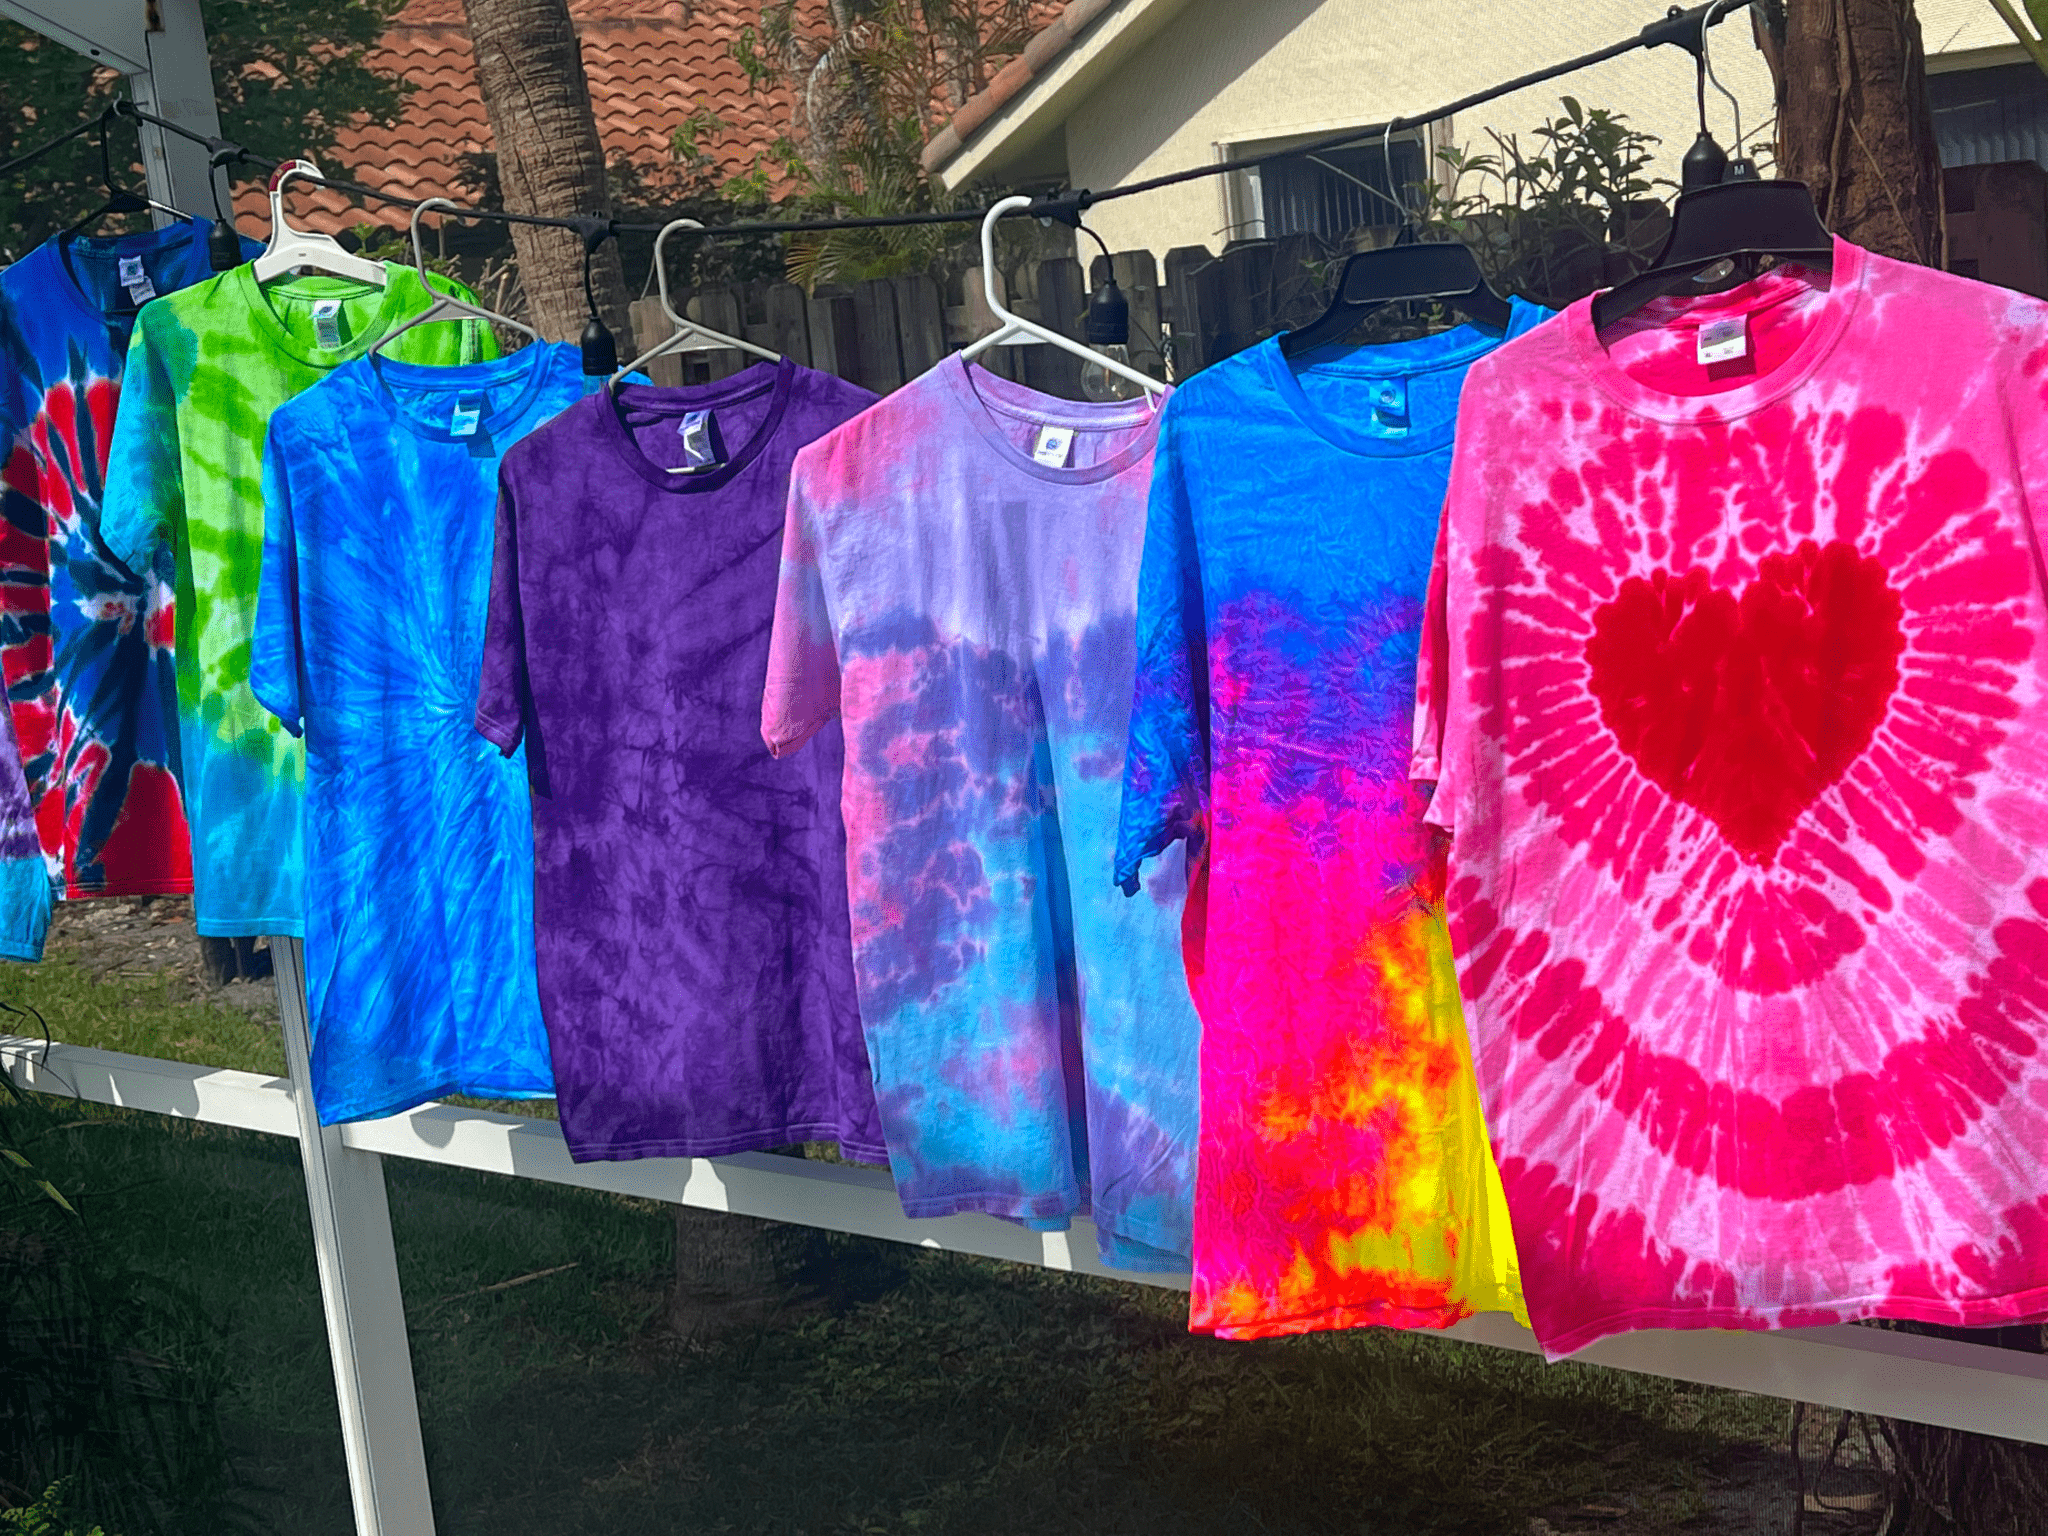
Classic tie-dye t-shirts are a staple of any tie-dye enthusiast’s wardrobe. Experiment with different patterns and colors to create unique designs.
2. Tie-Dye Hoodies and Sweatshirts
Add a pop of color to your cozy wear by tie-dyeing hoodies and sweatshirts. Perfect for lounging at home or making a fashion statement on the go.
3. Tie-Dye Socks
Brighten up your sock drawer with colorful tie-dye socks. These make great gifts and are a fun project for beginners.
4. Tie-Dye Pillowcases and Bedding
Transform your bedroom into a vibrant oasis by tie-dyeing pillowcases, sheets, and duvet covers. The crumple pattern works particularly well for these larger items.
5. Tie-Dye Bags and Totes
Personalize your bags and totes with tie-dye designs. Perfect for shopping, the beach, or as a unique accessory.
6. Tie-Dye Face Masks
Stay safe and stylish by tie-dyeing face masks. These are practical and allow you to showcase your creativity.
Tips for Successful Tie-Dye Projects
To ensure your tie-dye projects turn out beautifully, follow these tips:
Pre-Wash Fabrics
Always pre-wash your fabrics to remove any sizing or chemicals that may prevent the dye from absorbing properly.
Use Dye Fixative
Soak your dyed items in a dye fixative solution to help set the colors and prevent fading.
Follow Dye Instructions
Each dye brand may have slightly different instructions, so be sure to follow them for the best results.
Wear Protective Gear
Always wear gloves and old clothes or an apron to protect yourself from stains.
Be Patient
Allow your dyed items to set for the recommended time (usually 6-8 hours) before rinsing to ensure vibrant colors.
Share Your Tie-Dye Creations with Free Spirited
We’d love to see your DIY tie-dye projects! Share your creations on social media and tag us @FreeSpirited. Join our community of tie-dye enthusiasts and inspire others with your colorful designs.
Shop Our Tie-Dye Supplies
Ready to start your tie-dye journey? Shop our tie-dye kits and supplies for everything you need to create stunning tie-dye projects at home.
Custom Tie-Dye Options
Looking for something unique? Explore our custom tie-dye options and create personalized pieces that reflect your style. Perfect for gifts or a special treat for yourself.
Conclusion: Unleash Your Creativity
Tie-dye is a fun, creative, and rewarding activity that allows you to express your individuality through vibrant designs. With a few basic materials and techniques, you can create beautiful tie-dye projects at home. Visit Free Spirited today to explore our collection of tie-dye supplies and get started on your colorful journey.


Leave a comment