

Tie-Dye Instructions to Make Your Own Clothes
Want to make a mess and get colorful at the same time? Tie-dyeing is one of the most exciting projects you can undertake with a plain white T-shirt, some rubber bands, and an afternoon. You don't need an art degree or any special equipment to start.
In this guide, you'll learn how to tie-dye from start to finish. We'll cover the required materials, how to prepare, and the folding techniques used to create the most popular tie-dye designs. You'll also learn how to rinse and wash your finished piece to keep the colors vibrant. By the end, you'll have an entirely unique shirt no one else on earth has.
What You'll Need for Tie-Dyeing
First, gather all your supplies. Tie-dye projects move quite quickly once the dye comes out, so having everything close at hand helps.
Fabric
Natural fabrics, such as cotton, rayon, and linen, absorb dye easily. This is why a simple white T-shirt is the traditional choice for a beginner. Other great options are socks, tank tops, tote bags, and pillowcases. Blended fabric can be hard to work with because synthetic fibers don't absorb dye well and can give softer, paler results.
Dye
You can use either liquid dye or powder dye. Liquid dye is ready to use, which makes it an excellent option for beginners. Powder dye, on the other hand, usually needs to be mixed with warm water first. However, it gives you more control over color intensity.
Tools
You'll also need:
- A few squeeze bottles or squirt bottles (one for each color)
- Rubber bands (preferably wide ones for thick fabric)
- Rubber gloves
- An old towel and some paper towels for quick cleanups
- Plastic to protect your work surface, as well as a bag or wrap for your finished piece
Prepare Your Fabric and Workspace
A little preparation goes a long way. Here’s what you need to do:
- Wash your clothes. Wash your T-shirt (or whatever fabric you intend to dye) before you start to remove any factory finish that may block the dye. Avoid using fabric softener, as it can leave a coating that prevents color absorption.
- Leave the fabric damp. After washing, leave the fabric damp instead of soaking wet or bone dry. Damp fabric helps the dye spread evenly and blend into those pretty, blurred edges.
- Set up your space. Spread out the plastic on your worktable or on the floor, and put on old clothes or an apron, as dye splatters everywhere. Also, put on rubber gloves before starting any dyeing process. Tie-dye stains skin and surfaces, so keep your project away from anything you care about.
- Mix your colors. If you're using powder dye, add each color separately to separate bottles of warm water, then shake until the color is fully dissolved. Consider the colors in your palette before you start. Blue and yellow mix to make green, red and yellow mix to form orange, and red and blue mix to form purple. To avoid muddy shades, pick colors close to each other on the color wheel, and leave a bit of white fabric between colors that don't mix well.

[Image by Polina Tankilevich from corelens on Canva]
Folding Techniques for Creating Classic Tie-Dye Patterns
How you fold, twist, and bind your T-shirt determines the design you get. Choose one of the following techniques to start with, then try other patterns next time.
The Spiral Pattern
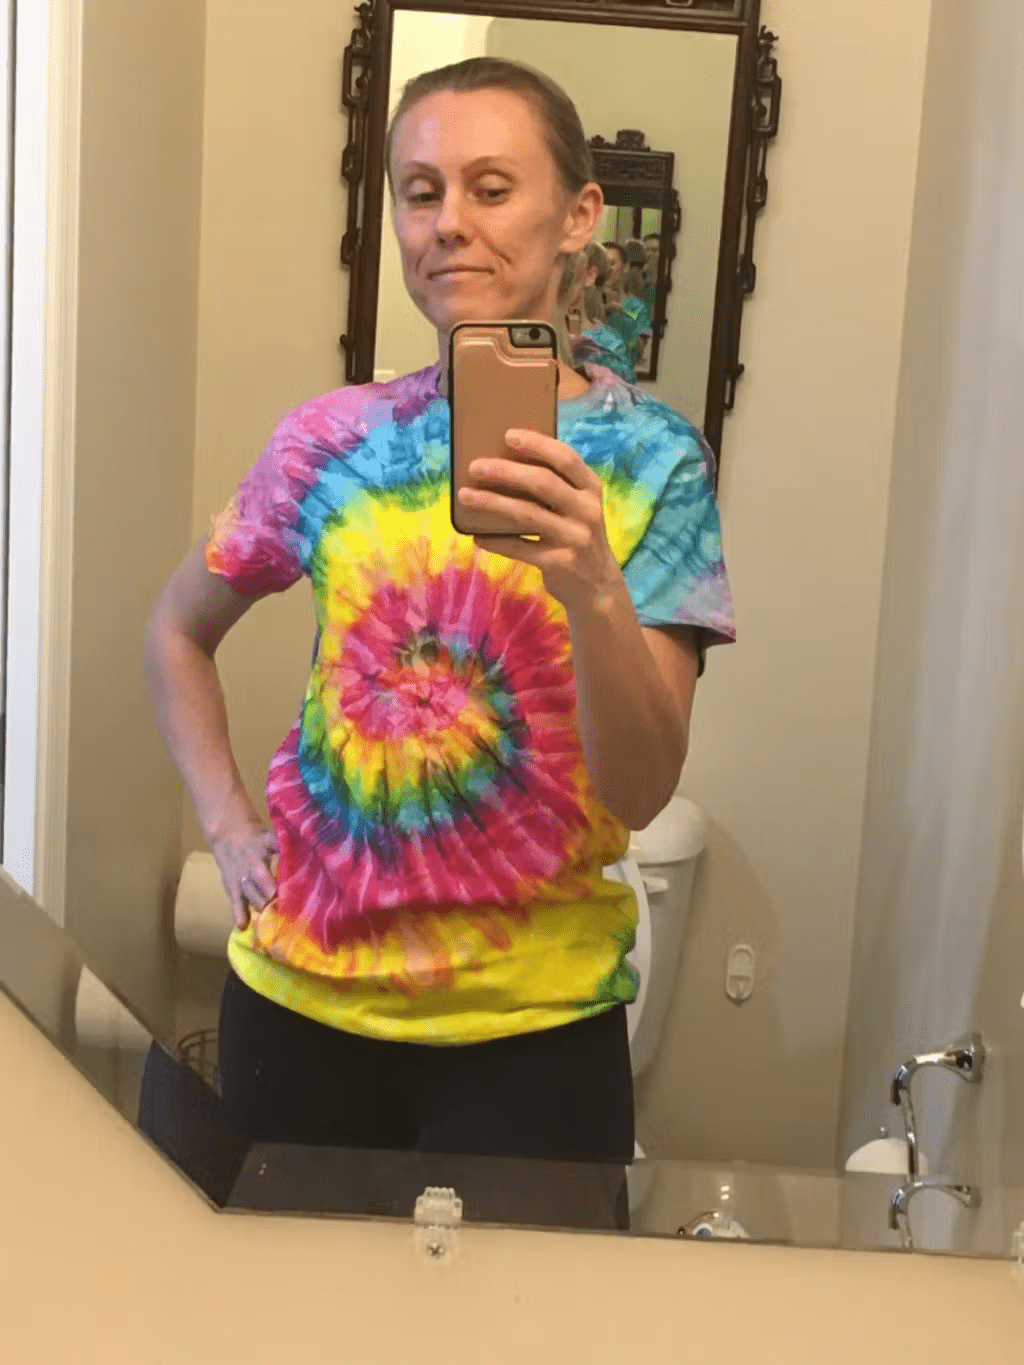
The spiral design is the first pattern most people think of when they think of tie-dyeing.
- Place your damp shirt down on a flat surface and smooth out all wrinkles.
- Pinch the fabric at the center of the shirt.
- Twist the fabric in one direction until it forms a flat, round shape that looks like a cinnamon bun.
- Wrap four rubber bands around the shape, crisscrossing them over the top to divide it into six wedges, like a pie.
Each wedge will be a different color, creating a rainbow swirl.
Vertical Stripes and Horizontal Stripes
Stripes are quite easy, and they always look good.
To create vertical stripes, take your shirt and fold it like a paper fan, the same way you’d fold a sheet of paper to make an accordion. Fold your shirt back and forth, starting at the bottom hem and folding it lengthwise. The folds should be about one inch wide. Secure the folded strip with rubber bands at regular intervals, about every two inches.
Horizontal stripes use the same method, but start folding from the side and fold across the width of the shirt. Add more rubber bands if your folds start to slip.
Crisscross
Fold your shirt into a long, flat strip, then fold that strip back and forth in a square, like a flag. Wrap rubber bands in an X across the middle. This creates a pattern of overlapping squares and diamonds.
Scrunch
Place the shirt flat and scrunch it in small sections until the whole shirt looks like a crumpled mess. Tie rubber bands around it. Use rubber bands to keep it in shape. The look is loose, colorful, and totally one of a kind.
Diagonal Line and Off-Center Designs
For a diagonal line, pinch one corner of the shirt, then fold the fabric into a long strip along that angle. Use rubber bands at regular intervals. For an off-center spiral, the process is pretty similar; just pinch the fabric to one side of the shirt instead of the middle. This will give your shirt a modern, playful look.

[Image by Brook White from BW Visuals on Canva]
Applying the Dye: Step-by-Step
After folding and securing your fabric, it's time to add color. Here are the simple steps to follow:
Step 1: Apply Your Lightest Color First
Apply the dye to the fabric in small amounts. Use light shades, like yellow, first before moving to darker colors. This helps you avoid muddy blending.
Step 2: Saturate the Fabric
Be bold when applying your dye because the dye has to penetrate the layers. Gently press the fabric folds with your gloved fingers to help the color work its way in. Then flip your bundle over and repeat on the other side.
Step 3: Pay Attention to the Details
There is always a chance some white patches will remain. So check the bottom hem, the edges, and any places where the fabric looks white. Add color to those areas using a squeeze bottle. If puddles of excess dye pool on the plastic, soak them up with a paper towel so they don't spread to areas you want to keep bright.
Step 4: Let It Rest
Place your dyed shirt in a plastic bag or wrap it in plastic, and put it in a warm place for 6 to 8 hours. Waiting may be hard, but the longer the dye settles, the more colorful your results will be.
Rinse, Wash, and Care
This is the last stage of tie-dyeing.
- Rinse in cold water. With your gloves on, take your shirt outside or to a sink, and leave the rubber bands where they are. Rinse the shirt with cold water, gently squeezing as you go, until the water runs clear. This washes off excess dye and prevents the colors from bleeding into one another. Remove the rubber bands when most of the dye is gone, and continue rinsing until the water gets clear again.
- Wash it. Wash your new tie-dye shirt alone in warm water with a gentle detergent (if your dye instructions say to use hot water, use it). Run it through a full cycle, then dry as you normally would. For the first few washes, wash your dyed clothes separately to avoid dye stains.
- Maintain the color. Wash in cool or warm water, turn your clothes inside out, and avoid fabric softener. Dry your tie-dyed clothes in the shade or dry on low heat to help them stay vibrant for years.

Would You Rather Avoid the Mess? Meet Free Spirited
Tie-dyeing is fun, but it requires patience, time, and lots of paper towels. If you'd rather skip the whole process and just get dressed in style, we've got you.
Each Free Spirited shirt is hand-dyed in vibrant colors that resist fading. They stay bright even after 100 washes. Every tee we sell is made from super-soft, pre-shrunk cotton and runs true to size, in sizes S to 5XL, because every woman deserves a well-fitted, comfortable shirt.
We're a family-owned business in Florida, and we ship all orders from our store, packed by real people. Thousands of women already love their shirts, and we're proud to hold 4.5 stars on Trustpilot.
Free Spirited Insider membership is optional, and customers may shop full-price on Etsy, but the discounted offers on the main website include enrollment in a 21-day free trial that renews at $24.95/month unless canceled.
Members receive $30 monthly credit, exclusive members-only designs, early access to new drops, VIP pricing, free shipping, and surprise perks all month long. Members also get access to the $5 shirt of the month, and they can use their $30 monthly credit to buy up to 6 unique designs.
Free Spirited supports To Write Love On Her Arms, a nonprofit connecting people to hope, treatment, and recovery. So every colorful piece you wear helps spread a little more light.

[Image by Katie Rainbow 🏳️ 🌈 from Pexels on Canva]
Frequently Asked Questions
What Is The Best Fabric For Tie-Dye?
Natural fabrics such as cotton, rayon, and linen generally work best because they absorb dye easily. A plain white cotton T-shirt is an especially good choice for beginners, while fabrics containing a high percentage of synthetic fibers may produce lighter or less vibrant results.
Should I Wash A Shirt Before Tie-Dyeing It?
Yes. Washing your shirt before tie-dyeing helps remove factory finishes or other coatings that could prevent the dye from absorbing properly. Avoid using fabric softener, and leave the fabric slightly damp before you begin applying the dye. Tie Dye Instructions
How Long Should Tie-Dye Sit Before Rinsing?
The blog recommends placing the dyed shirt in a plastic bag or wrapping it in plastic and allowing it to rest in a warm place for 6 to 8 hours. Giving the dye enough time to settle helps create stronger, more colorful results. Tie Dye Instructions
How Do You Keep Tie-Dye From Fading?
After rinsing out the excess dye, wash your tie-dyed item separately for the first few washes. For ongoing care, turn the garment inside out, use cool or warm water, avoid fabric softener, and dry it in the shade or on low heat to help preserve the colors. Tie Dye Instructions
What Is The Easiest Tie-Dye Pattern For Beginners?
The scrunch and spiral techniques are both beginner-friendly options. A spiral creates the classic swirling tie-dye appearance, while the scrunch method produces a looser, more unpredictable pattern and requires very little precision.
Final Words
Now you know how to tie-dye like a pro, from choosing your fabric to doing your first spiral fold and rinsing until the water runs clear. The best part of any tie-dye project is the surprise when you unwrap it, so do not worry too much about making it perfect.
Experiment with different tie-dye designs and color combinations, and enjoy wearing something you made yourself. Whether you get a kit and create your own masterpiece over the weekend or choose a shirt you love from our store, we'd love to have you in the most colorful club on earth.



Leave a comment