

How to Tie-Dye Shirts: Step-by-Step Guide and Techniques
Ever wanted a shirt no one else has? You're in the right place, then! Tie-dye shirts are one of the easiest ways to wear your personality, and making one yourself is easier than you might think.
Here, we'll show you how to tie-dye your shirts, starting with gathering materials, prepping with soda ash, the best folds for the best patterns, and washing your creation so the color stays put. Are you ready to get messy? Let's get started!
Tie-Dye Patterns and Techniques
Before we cover the tie-dyeing steps, let's look at some patterns and techniques. The folds you make determine the design. Here are some tie-dye techniques you can try.
The Classic Spiral
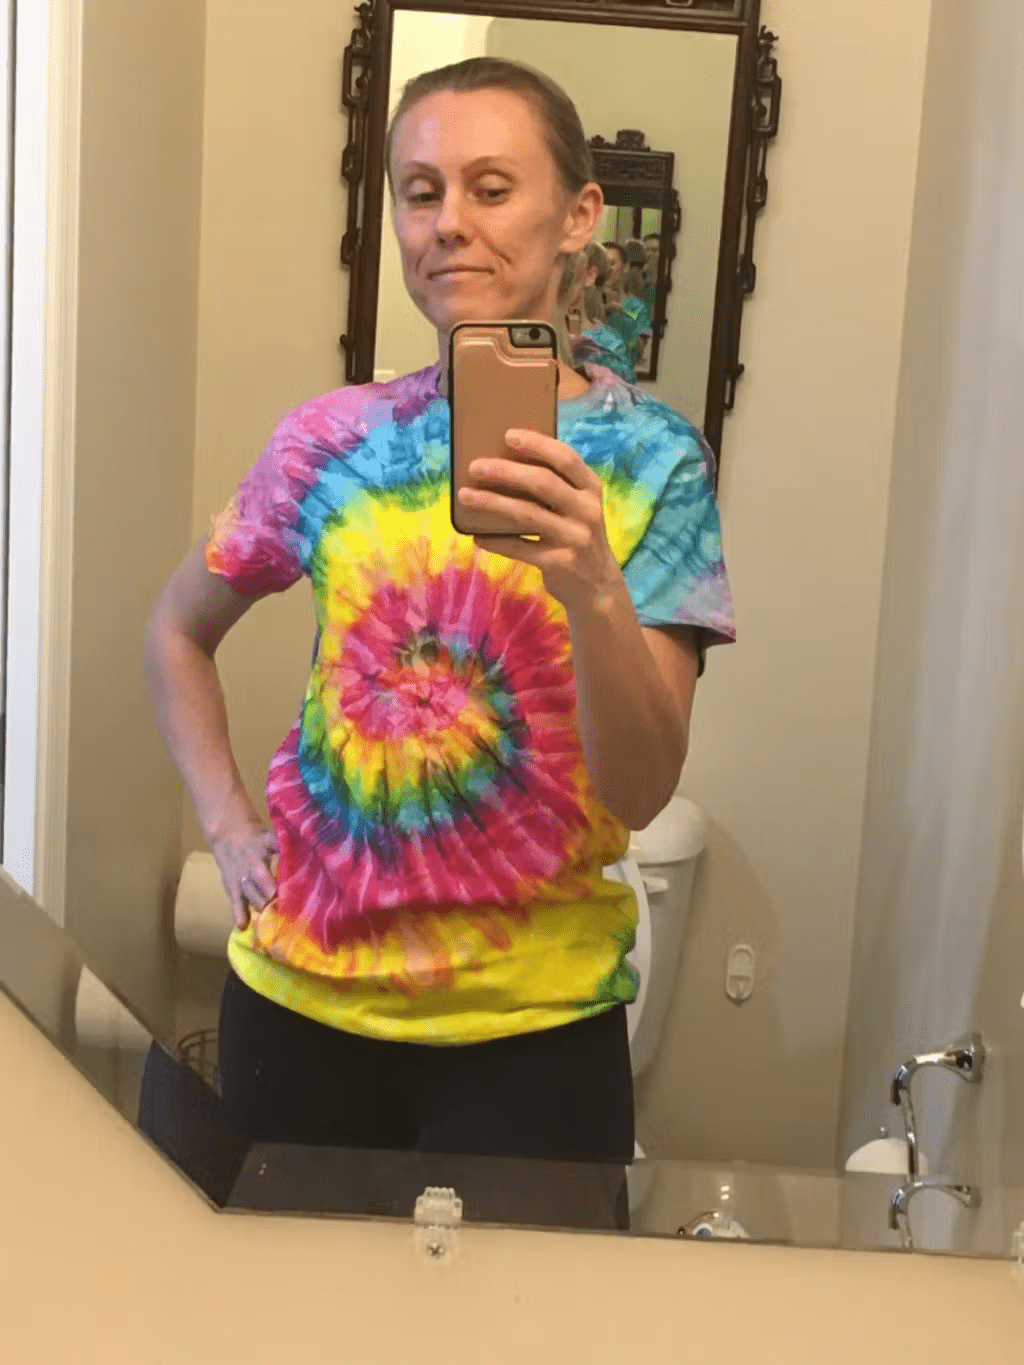
The classic spiral is the tie-dye pattern most people think of first. To create this design, lay the shirt flat and pinch the center. Then twist the shirt to create a flat, round spiral. Wrap rubber bands across the top to divide it into pizza-like wedges. Add more rubber bands if the fabric starts to loosen. Each wedge is an opportunity to try a different color.
The Bullseye Pattern
Tired of swirls? To get rings, pinch the shirt in the middle and pull it straight up to form a long tube. Smooth the sides, then wrap rubber bands around the shirt at regular intervals down the length. Dyeing between the bands will give you nice, clear concentric circles.
Stripes
Stripes are easy and always look polished. To create vertical stripes, fold your shirt into a paper fan (like an accordion), starting at the bottom hem and ending near the neckline. Use rubber bands to secure the fold every few inches.
For horizontal stripes, start from the side rather than the bottom. For a slightly more playful look, try diagonal stripes. To achieve this look, begin at one corner and fold the shirt into a strip along a diagonal line, then bind it the same way.
The Random Pattern
Don't like following the rules? Crumple your shirt into a loose pile and bind it with rubber bands. The result is soft, unpredictable, and uniquely yours. The random pattern is perfect for beginners, since there's no wrong way to do it.

[Image by Premyuda Yospim from Getty Images Pro on Canva]
How to Make a Tie-Dye Shirt
The tie-dye process has four main steps:
- Prep (soak the shirt)
- Fold (create your design)
- Dye (add the color)
- Set and rinse (lock it in)
Everything else is just details. Here are the items that you need:
- White t-shirt: Plain white t-shirts make colors appear more vibrant. Choose one made of 100% cotton, since natural fibers absorb dye much better than synthetics.
- Soda ash: This secret ingredient helps dye bond with fabric. It is sold as soda ash or sodium carbonate.
- Dye: Liquid dye is ready to use, but powdered dye needs to be mixed with warm water first. Mixing it with water gives you greater control over color intensity.
- Squeeze bottles: Ideally, you'll need a separate squeeze bottle for each color. Spray bottles work well for soft, misty effects.
- Rubber bands: You will need several rubber bands. It's always best to take more than you expect to need.
- A plastic bucket to prepare your soda ash solution.
- Paper towels for cleaning up spills and extra color.
- A plastic bag: This will be used to wrap your finished shirt while the dye sets.
- Gloves: Dye stains hands, and soda ash can irritate the skin.
- Plastic and old clothes: Protect your work surface by laying down plastic, and wear old clothes. Tie-dyeing may be fun, but it's messy.

[Image by ti-ja from Getty Images Signature on Canva]
How to Tie-Dye a Shirt: A Step-by-Step Guide
Step 1: Pre-Soak the Shirt in Soda Ash
Pour warm water into your plastic bucket. Add the soda ash and stir as directed on the package. Soak the shirt in the soda ash solution for about 15 to 20 minutes, then wring it dry. This step helps the dye stick to your shirt's fibers, giving you bold colors that last.
Soda ash is a very strong alkaline powder and must be handled with gloves. Avoid breathing in the dye powder while measuring it, and keep it away from your eyes, children, and pets.
Step 2: Fold and Bind
Lay your damp shirt flat and fold it into your chosen design. Then wrap rubber bands around it to secure it.
Step 3: Apply the Dye
Fill each squeeze bottle with a different dye color and apply the dye a little at a time. Use enough dye to saturate all layers of the fabric, gently pressing the shirt's folds with your gloved fingers.
Flip the shirt and repeat on the other side. If excess dye pools, blot it with paper towels to prevent it from staining areas you don't want to dye.
Step 4: Let It Sit
Put your shirt in a plastic bag and leave it in a warm place for 6 to 8 hours. It is even better to leave it there overnight. The longer the dye works, the richer your color will be.
Step 5: Rinse, Wash, and Care
While wearing gloves, rinse your shirt under cold running water with the rubber bands still in place. Continue rinsing until the water is clear. This removes excess dye that might otherwise transfer to lighter areas. Then remove the bands and rinse again.
Put your shirt in the washing machine and wash it alone. Use hot or warm water, depending on your dye instructions, and a gentle detergent. For the first few washes, wash it separately to keep stray dye from staining your other clothes. After that, wash it in cool water and hang it up to dry.

[Image by ElementalImaging from Getty Images Signature on Canva]
Things to Look For When Buying a Tie-Dye Shirt
Are you into tie-dye, but don't like all the cleaning that's involved? No worries! You can buy ready-to-wear tie-dye shirts. If you're shopping for a shirt, here's what to look for to find one you'll love and wear for years.
- Hand-dyed, not mass-printed: A hand-dyed shirt has depth and variation, which makes each piece unique. This is what distinguishes wearable art from a flat print.
- Fade-resistant colors: Don't buy brightly colored t-shirts if their colors fade after a few washes. Choose t-shirts whose colors will stay vibrant, even after a hundred washes.
- Soft, pre-shrunk cotton: Shirts made from soft, pre-shrunk cotton retain their shape and feel great on your skin. Make sure your favorite shirt won't turn into a crop top in the dryer.
- True to size and comes in many sizes: Every woman deserves a perfectly fitting shirt. Look for brands that offer true-to-size cuts and inclusive sizing, like our range from S to 5XL.
- Reviews from real customers: See what customers say before you buy. Free Spirited is proud to have a 4.5-star rating on Trustpilot.
- A brand that gives back: We support To Write Love On Her Arms, a nonprofit connecting people to hope, treatment, and recovery. Join Free Spirited Insiders to unlock great pricing, a $30 monthly credit, free shipping, members-only designs, and early access to new drops.
Want to see what we have in store? Check out our collection and find your new favorite tee. We have something for everybody, from our Blue Ocean Tee and Pink Heart Tee to our Pride Tee and Crystal Purple Tee.

Frequently Asked Questions
Do I Really Need Soda Ash?
Yes, you do if you want the most vibrant results possible. Soda ash helps the dye bond better with the fabric; without it, your shirt may look pale.
How Long Should I Let the Dye Sit?
Let it sit for 6 to 8 hours, or overnight, wrapped in a plastic bag. You don't have to wait that long, but the color will turn out softer.
Can I Use Natural Dyes?
Of course, you can. Ingredients such as red cabbage, turmeric, and avocado pits create a wide range of beautiful colors. Just keep in mind they aren't as strong as commercial dyes and may fade faster.
Can I Tie-Dye Other Items, Like Tote Bags?
Yes, you can. Tote bags, socks, pillowcases, and anything else made out of cotton absorb dye beautifully. The same steps apply.
How Do I Keep My Tie Dye From Bleeding Onto Other Clothes?
Rinse with cold water until the water runs clear, and wash the shirt separately for the first few times. After that, you can wash it with your other clothes.
Conclusion
The tie-dye process is straightforward, and we've outlined the steps, from soaking with soda ash to the final rinse. Whether you're making the classic spiral pattern, the dramatic bullseye design, or an unpredictable random pattern, the coolest part is that every T-shirt is unique.
Mix your colors, trust the process, and have fun. If you'd rather buy a tie-dyed shirt, check out our collection. The most colorful club on earth always has room for one more free spirit.



Deja un comentario